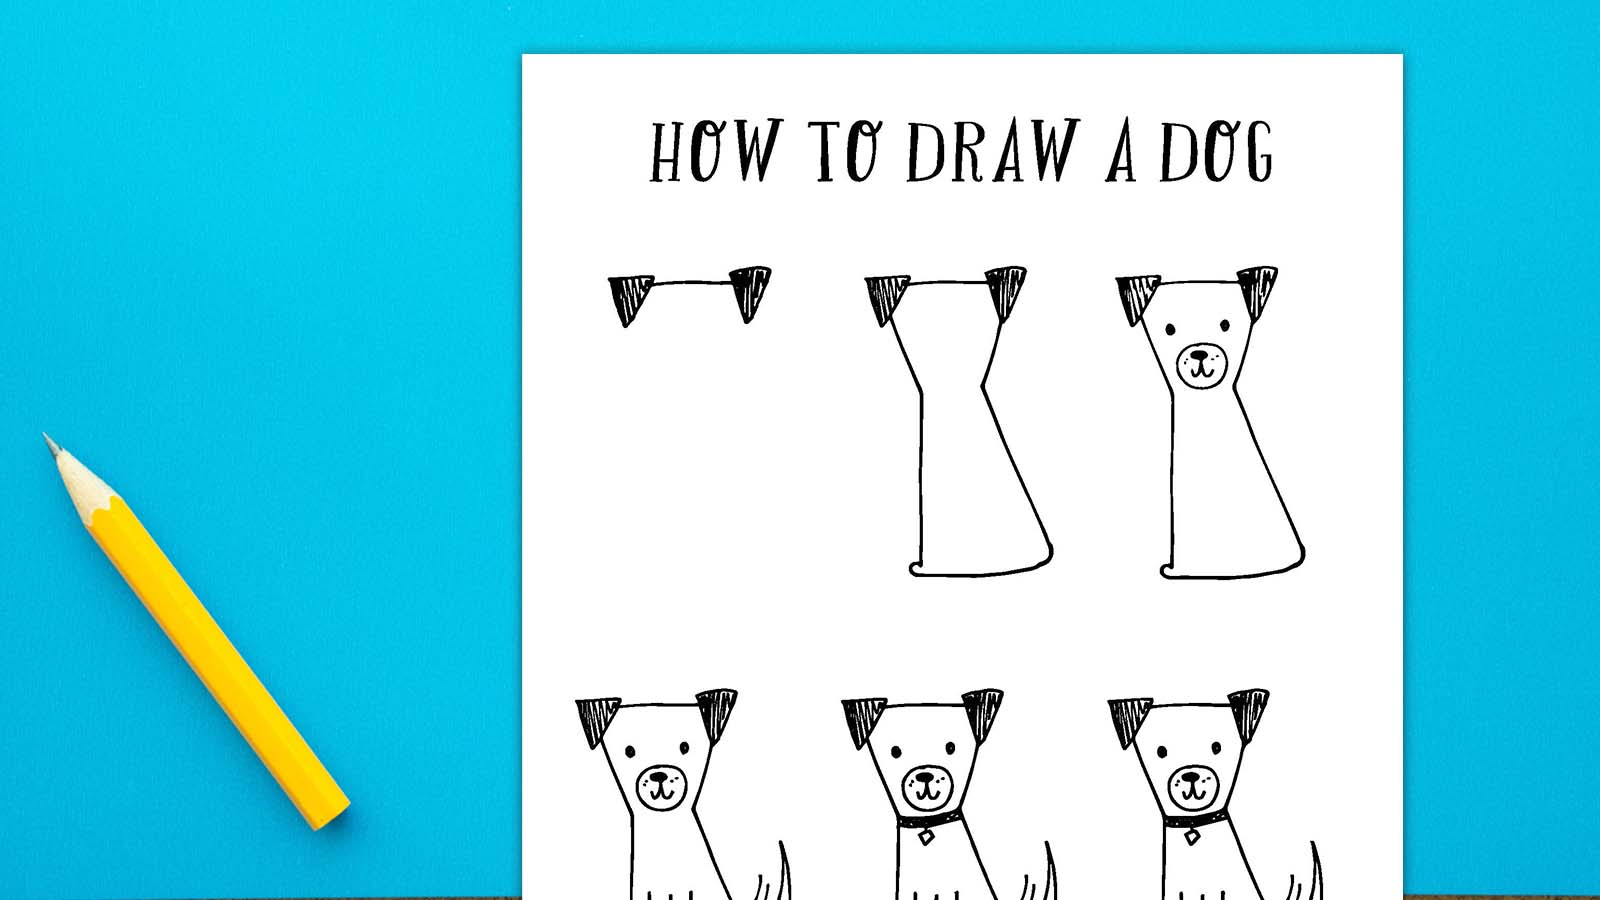
If you have pet lovers in your classroom who like to draw, then you’re barking up the right tree! Our free printable has step-by-step instructions for teaching kids how to draw a dog. Make it a fun Friday group activity or keep it on hand for your fast finishers.
If you’re ready to create some beautiful art of man’s best friend, check out our easy-to-follow steps below. There’s a video tutorial and images with step-by-step instructions. Plus, be sure to download the free printable instructions so kids can easily follow along.
How To Draw a Dog Video
There are six easy steps for teaching kids how to draw a dog. They are easy for kids of all ages and abilities.
Step-by-Step Instructions
Step 1
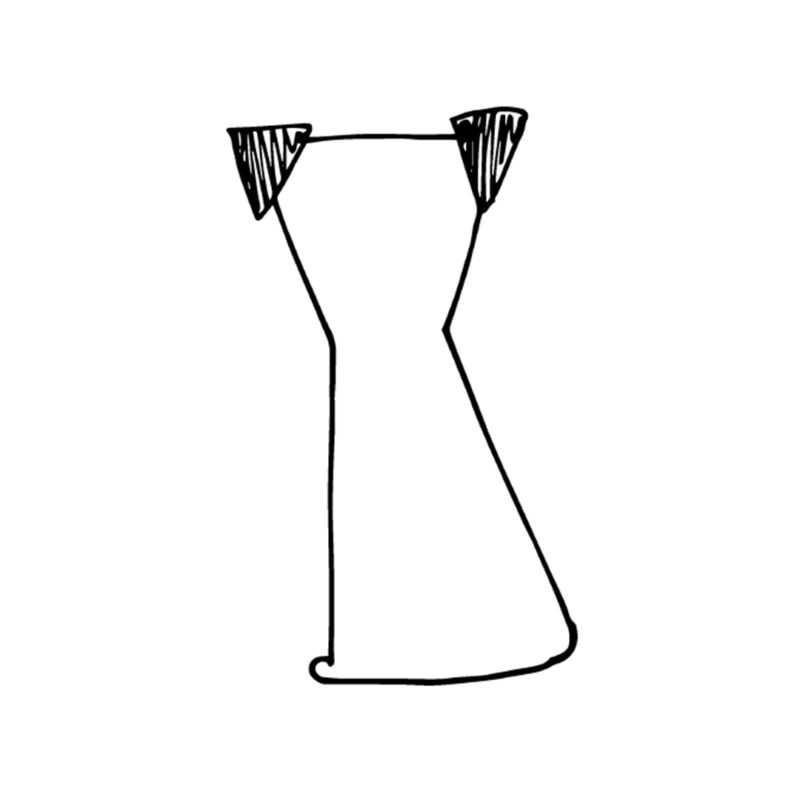
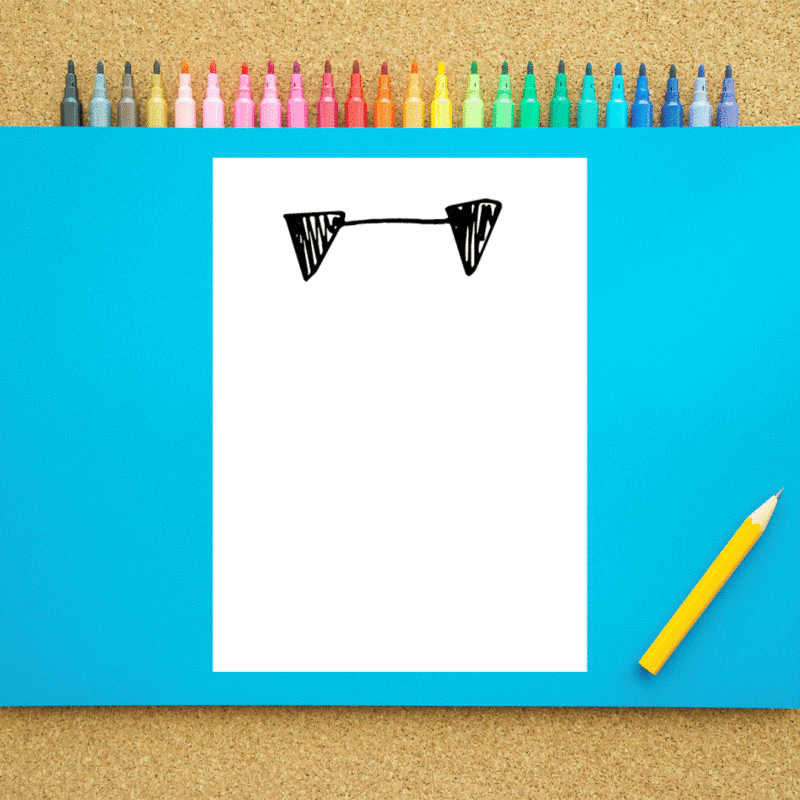
Once you have your paper laid out and your Sharpie in hand, you can begin by drawing two upside-down triangles spaced about an inch apart. Next, connect them with a single line.
Step 2
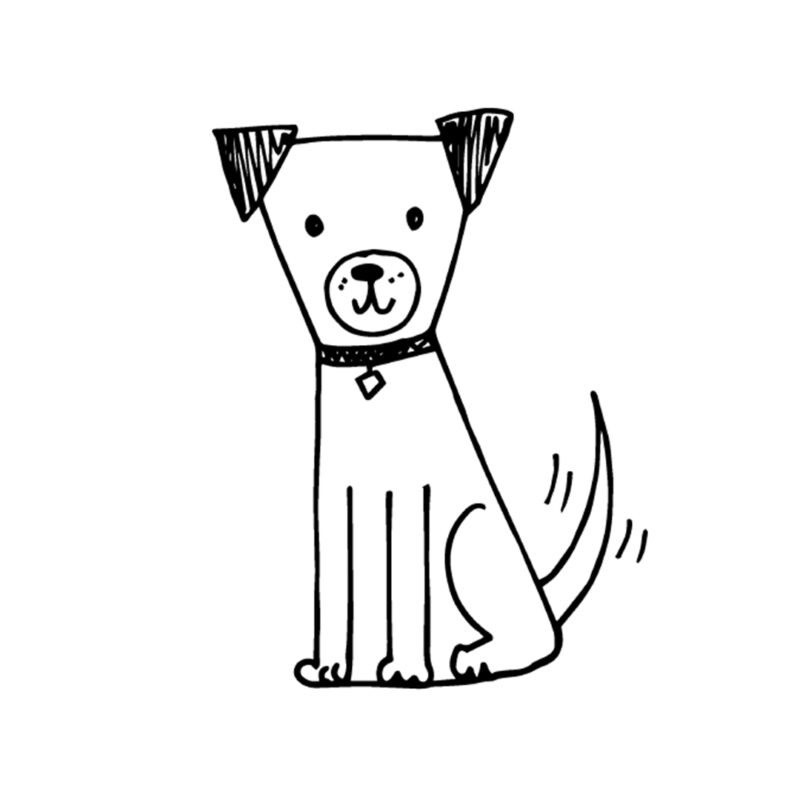
Next, we’re going to draw the outline of the dog’s body. Draw two lines extending from each ear and pointing inward to create the dog’s neck. Then draw two longer lines extending from those. The line on the left should go almost straight down, while the line on the right should slant outward. Finally, connect the two longer lines with a slightly curved line. Be sure to include a little bump for the dog’s foot on the left side.
Step 3
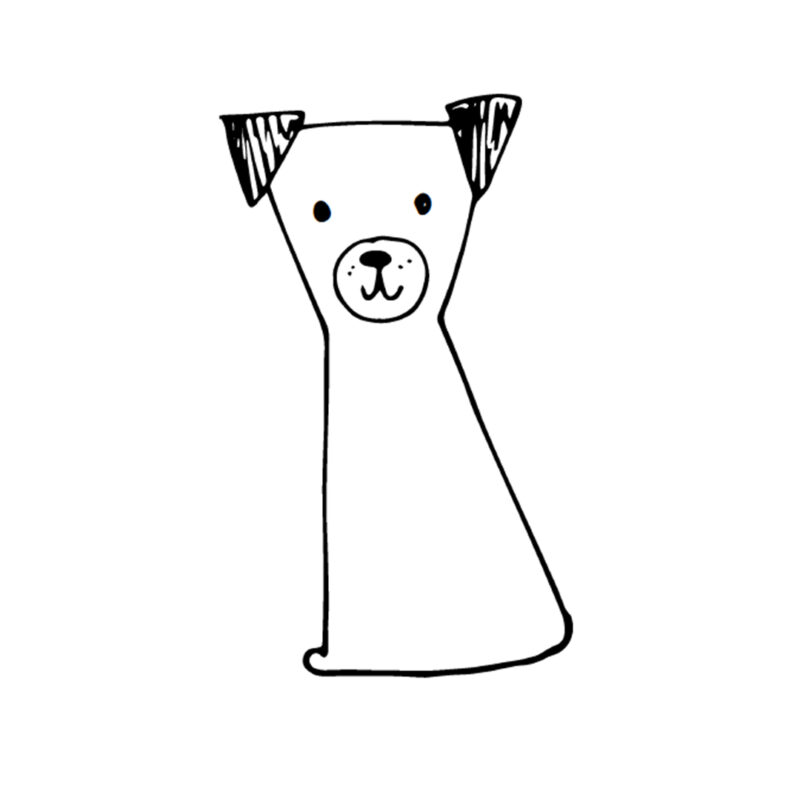
Now we’re going to add an oh-so adorable doggy face. Draw two black dots for eyes spaced out about half an inch apart. Next, draw a circle just above the dog’s neck, but below the eyes. Inside the circle, draw a small black oval with two hooks extending down from that for the dog’s mouth. Finally add a few little dots as whiskers.
Step 4
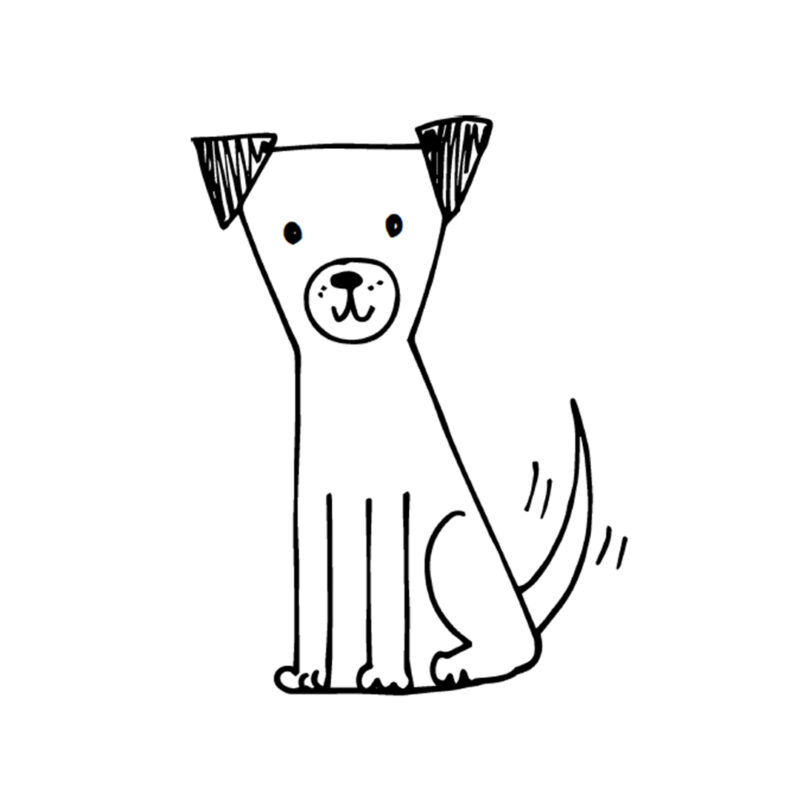
Now we’re going to add three straight lines from the bottom curved line going about three-quarters of the way up the dog’s body. These will make up the dog’s front legs. Next we’re going to add a half circle to the right of those lines to serve as the dog’s back leg. Once you have your legs drawn, add little markings to make the paws. Next, add a curved tail at the back of the dog. Finally, draw a few movement lines to show that your little dog is happy and wagging his tail.
Step 5
Now it’s time to draw a collar. Draw two horizontal lines connecting the dog’s neck and shade it in. Finally, add a little dog tag in a shape of your choosing.
Step 6
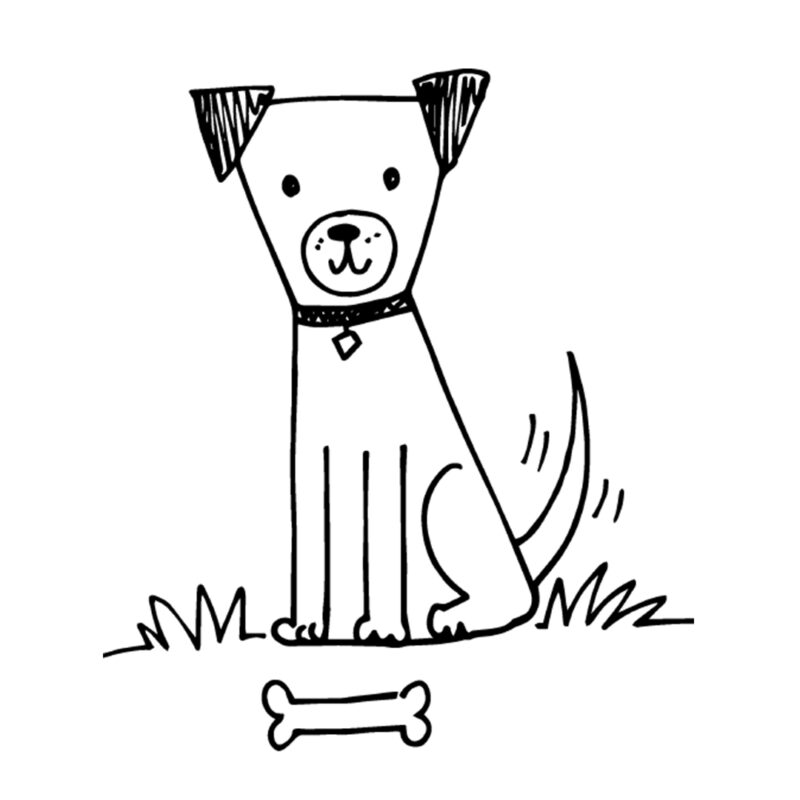
Now to add a little detail around your doggie. Draw some grass to the left and right of your dog by making some jagged lines. Then add a little bone in front of him.
Get your free How To Draw a Dog printable with step-by-step instructions
Are you ready to save and print your free dog drawing printable? All you need to do is fill out the form at the top of this page.


